Posts

Showing posts from April, 2014

Dana's BBQ - Smashbook Page

Image
Had to take pics at Danna's! Omgoodness the BBQ was amazing and wish I could go to Branson right now and get some!  The pig out was from some lunch bags from Michael's, Bacon Washi tape from Joann's, the Family Bingo card is from Ruby Rickit- found at a scrapbook store.
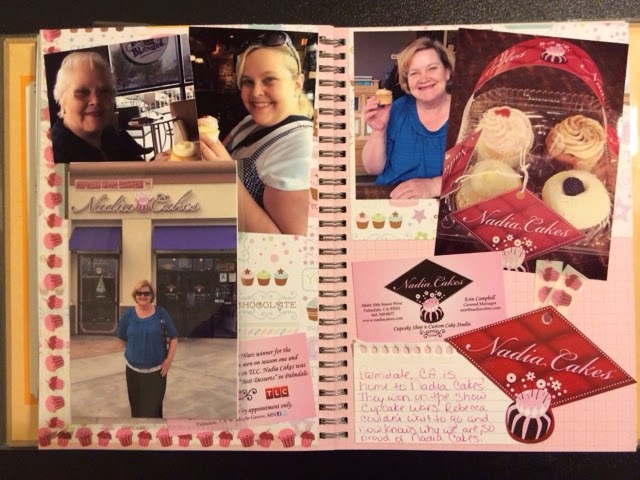
Nadia Cupcakes - Tasty Style Smashbook

Image
Used Reflections cupcake paper, Washi tape, the tag on our cupcakes, and business card to complete the page!

Tasty Style Smashbook - Lambert's Cafe

Image
My fave place to eat EVER!  LOOOVE me some Lambert's!Sometimes the wait is really long but worth it!!!  I used their menu as background paper and for the cut outs.  I used some smash washi tape, that I never used, the LOVE Clip, and the Food To Remember journaling box.  I also used more of the 4x6 Photo Sleeves from Wal Mart so I can do the flip ups!  Love these things.  I can always show more pics and I kept laughing putting the cut outs from the menu on the pics.  If you are ever in Ozark, MO I highly recommend going to Lambert's!!! 

Tasty Style Smashbook - Osceola Cheese Factory

Image
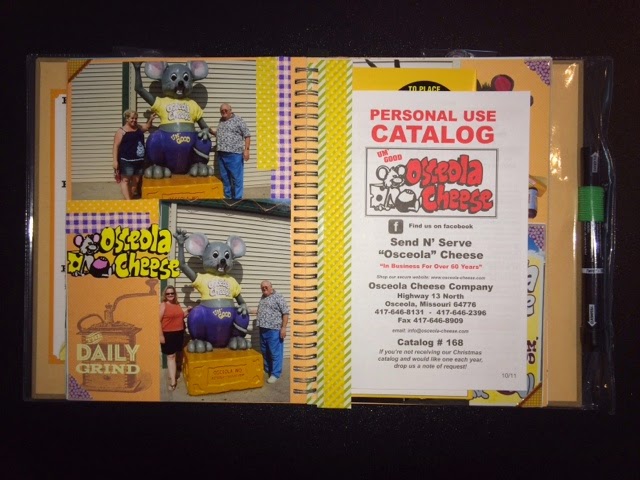
I used some fabric Washi and put the pics on the daily grind page cause thought it matched with cheese!  I had to use an insert because I had so many extra things to go on the page.  I also used some photo corners I bought from a dollar store.  On the second page is a flip up with maps and extra pics I had.

Happy Easter Card - using A Creative Journey with Melissa Words of God Stamp Set

Image
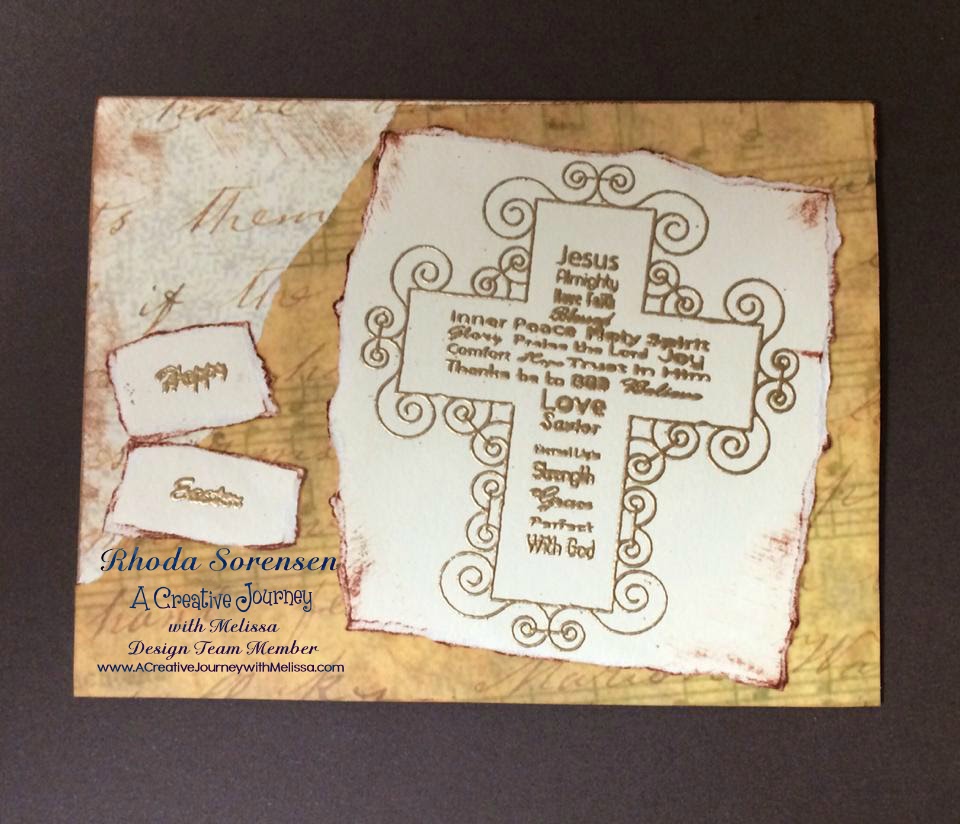
I wanted to make an Easter card for my parents and just knew  A Creative Journey with Melissa Words of God Set  would be perfect! I used some old papers with writing, then some vellum musical note paper that I had in my stash.  I stamped on creme cardstock, stamped in versamark, used gold embossing powder, and heat embossed. I love how it turned out and wish you and your family this year and years to come a Happy Easter!

Joe's Crab Shack - SMASH Book Page

Image
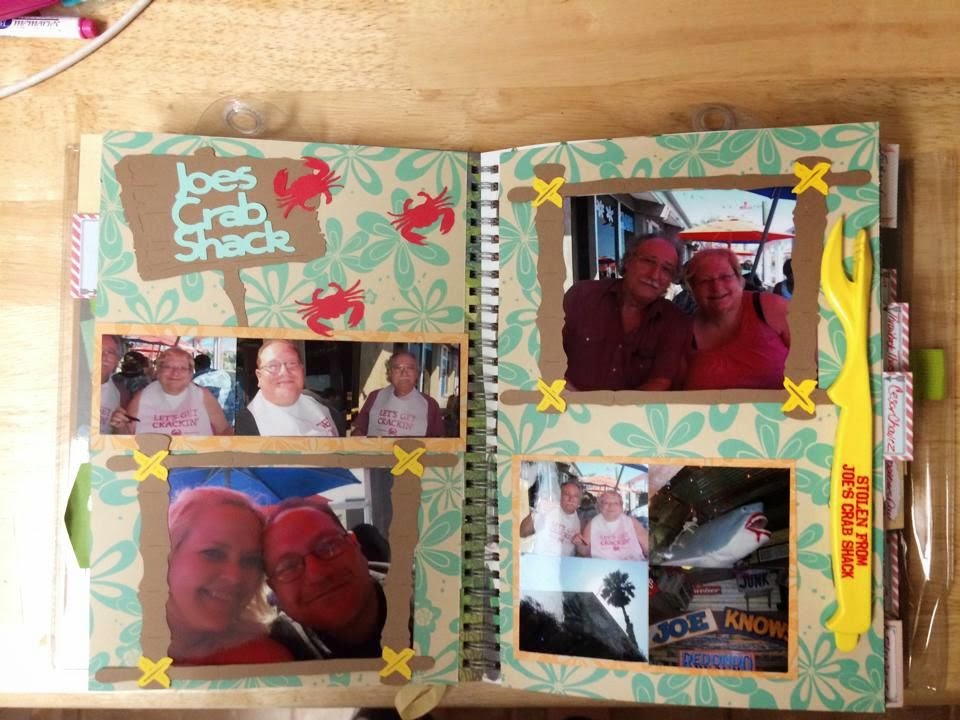
It is so much fun using different Cricut cartridges for things they were not intended for.  I used the Spongebob Cart for the frames and title.  I used the digital San Francisco cartridge for the crabs! I had to attach the crab tool, you are kinda encouraged to steal them from the table but I did ask first before I took it! lol

The Stuff Store - SMASH Page

Image
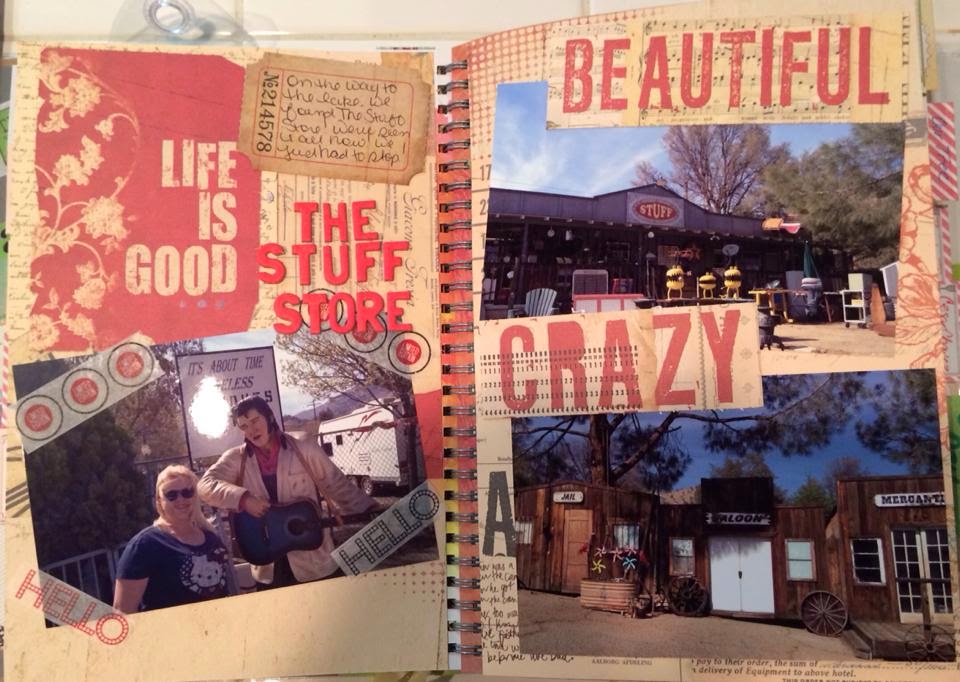
I can't believe it, I found the perfect store for me!  It is called The Stuff Store!!!   It was decorated really cute on the outside and on the inside too.  I didn't find any treasures but sure would love to go back and look again!

The Save the Boobies Tree

Image
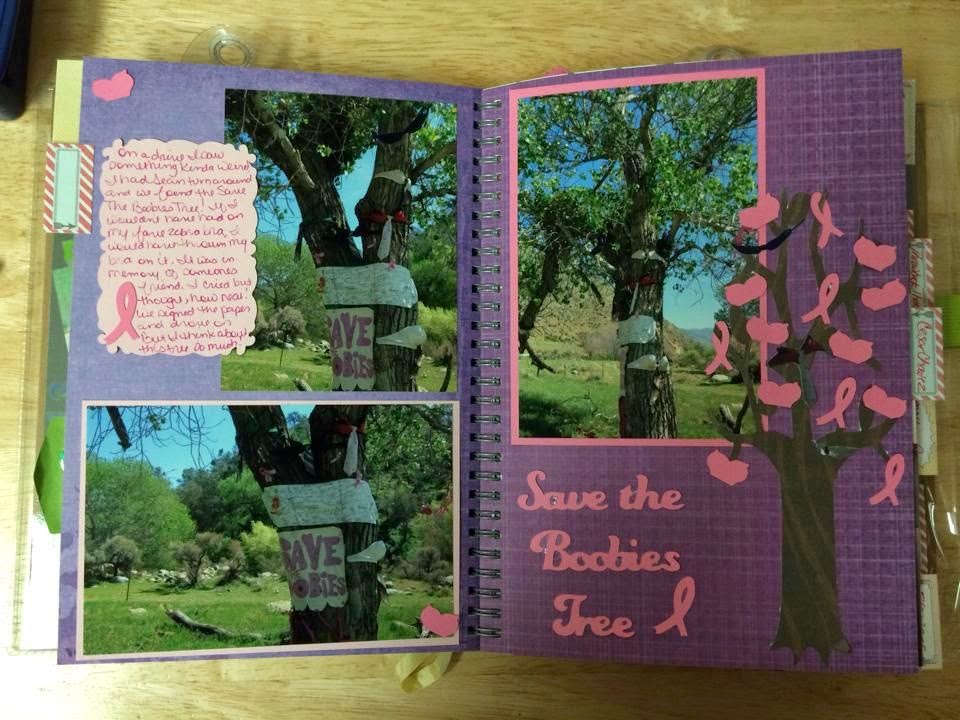
On a road trip, we saw The Save the Boobies Tree, and we just had to stop and take pictures. I used a tree on the Cricut, from the Tie the Knot cartridge, I used the corset but cut the bottom part off to make the bras, and from the Pink Journey Cart, I used the Breast Cancer Awareness Ribbon.

Words of God Stamp Set by A Creative Journey with Melissa

Image
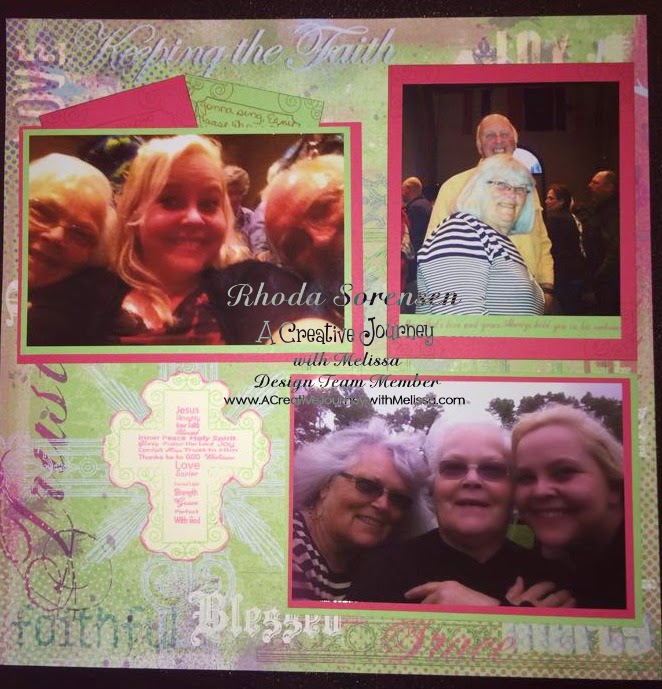
I used some Christian background paper I've had in my stash and  A Creative Journey with Melissa  stamp set called  Words of God  to make this page.   My parents, aunt, and uncle attended a gospel concert in South Dakota.  I couldn't think of anything more perfect than this stamp set to complete the page.  I also used the corner of the swirls on the cross to decorate the hidden journalling behind the picture.

A Creative Journey with Melissa - Words of God stamp set SMASH Page

Image
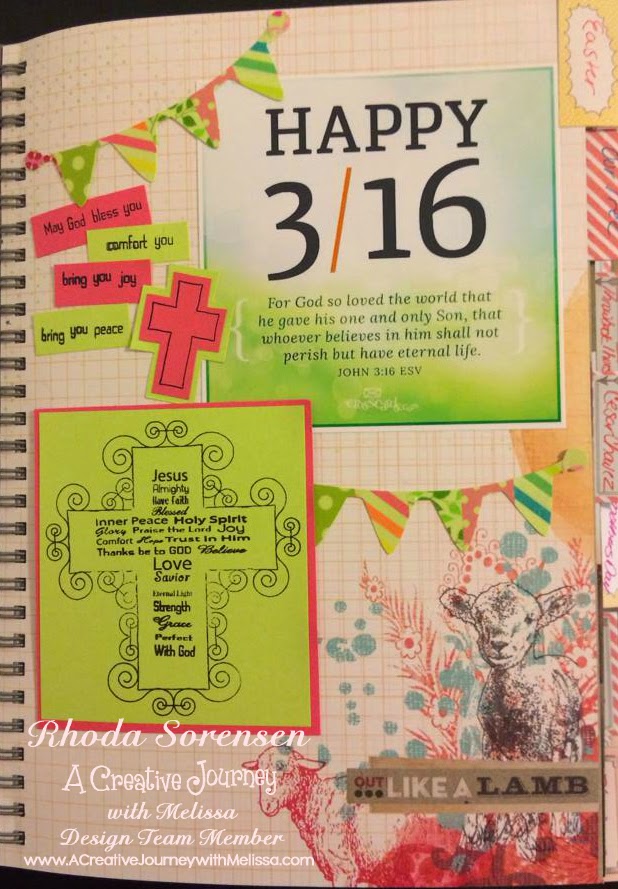
I used  A Creative Journey with Melissa  stamp set  Words of God  to make this SMASH book page in the 365 SMASH Book.  These stamps are so versatile!  I will be using them on many cards and pages.  Possibilities are endless when you want to share your faith thru paper creations. One of my friends, shared on my feed the Happy 3/16 picture.  I loved it and knew I had to SMASH about it. I used the cross stamp swirls and words on green paper.  Used a pink mat.  I used some more of the stamp set words on the same papers, cut out the cross, and put on the page as well. I used the Create a Critter 2 Cricut Cartridge for the banners.  What I did was attached some washi tape in various colors to cardstock.  Then I cut the banners out on the cricut.  Love how it turned out! To purchase your own stamp set, please click on the hyperlink above.  I've also attached pictures of how you can make your own banner.

Princess Bow Holder - Cricut Chip Decor Cartridge

Image
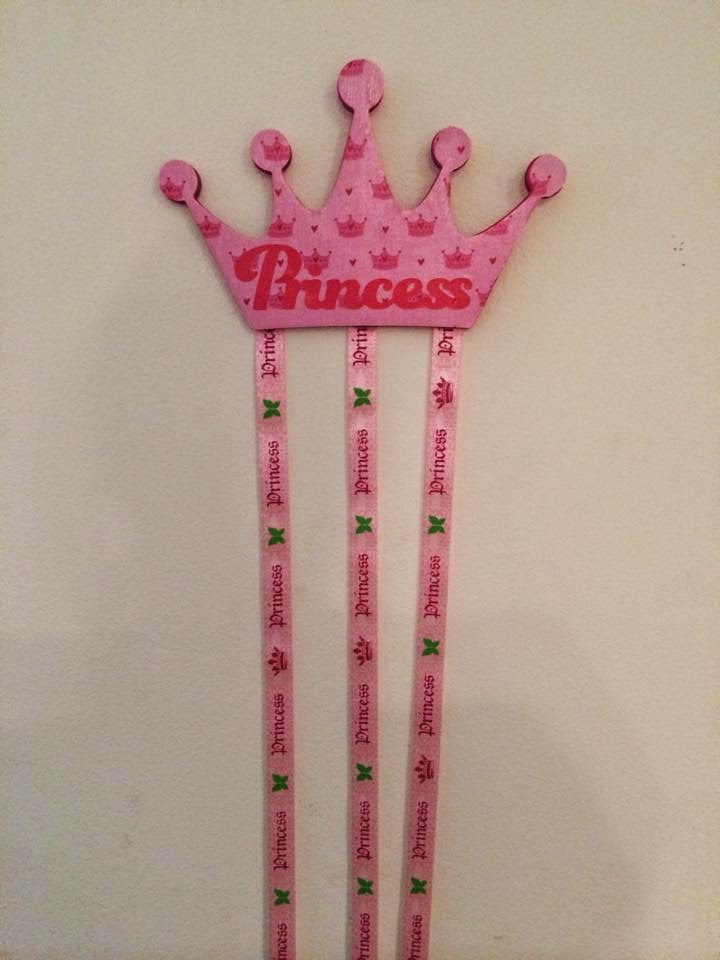
I bought the Cricut Chip Decor Cartridge from Hobby Lobby a while back.  The cuts line up with the matching chipboard shapes. I painted the outline in pink, then used Recollections crown paper for the front.  I glued three strips of Princess ribbon using E6000 to the back.  Then I cut a second crown in pink cardstock on the back to cover the exposed ribbon.  I just think it looks nicer with the back covered. I used the Artbooking cart for the title but welded it in Cricut Craft room.

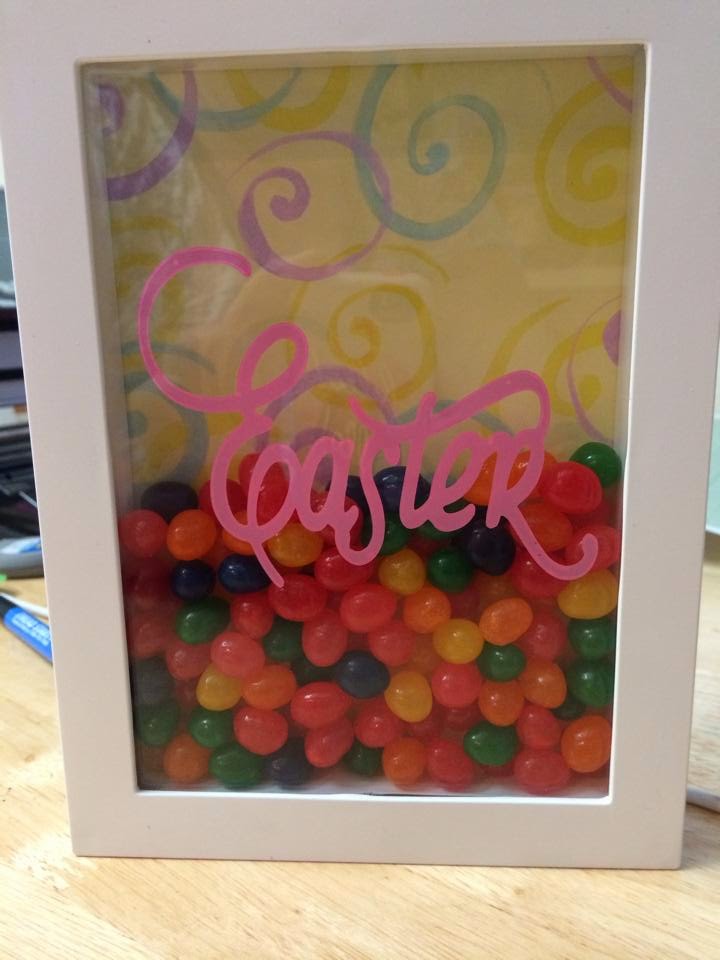
Easter Shadow Boxes - Using Cricut and Vinyl

Image
I reversed the images in Cricut craft room.  The sticky side is on the inside of the glass.  I used chevron print shelf liner for the blue and white background for one and the other was scrapbook paper. Then I filled with Jelly Beans!  They are so cute on the wall or sitting on the shelf.  The second one, I layered the vinyl.  I used silver and pink.