Posts

Showing posts from December, 2013

Washi Storage

Image
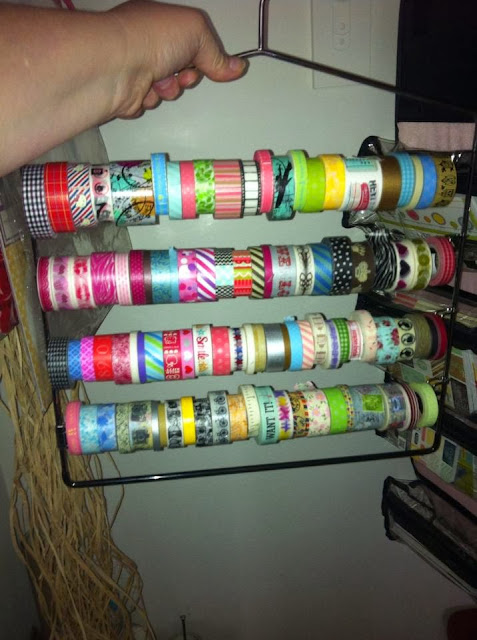
A girl on a group I'm on, used a plastic hanger.  I had an empty pants hanger in my closet and put about 90% of my washi on it.  Now to organize it by color!

NASA Page - International Style SMASHbook

Image
My first SMASHbook was the International Style SMASHbook.  I went thru it and added things to every page that I had in my stash of travel items.  I had some left overs from visiting NASA in Houston and added to the page.

Tasty Style Folio - Dippin' Dots

Image
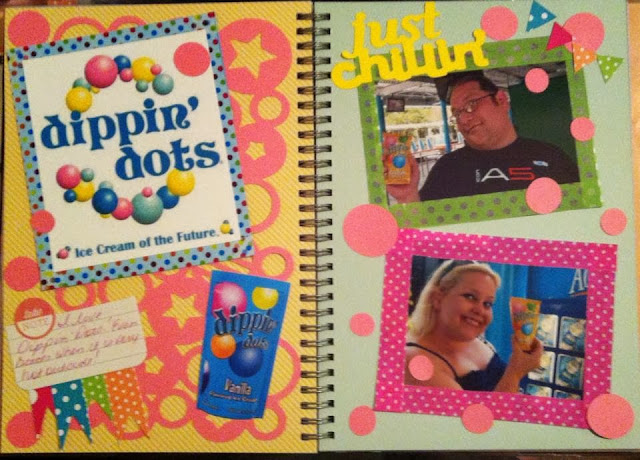
Used my fave smash book, the Tasty Style, for these two pages.  LOVE me some Dippin' Dots.  I also used the CTMH Artbooking Cricut Cartridge for the pink background overlay, and the title of Just Chillin. I used trash that came with some journal cards, made a little border in the corner, and made some banners.

Happy Birthday Card - Create a Critter 2 Cartridge

Image
My friends little girl wanted SMASHbooking stuff for her birthday.  A gal after my own heart right there!!!  So I got her a bunch of little things and a book.  Made her this card to match the Owl bag I found.

Christmas SMASH Book - Snowflake Page

Image
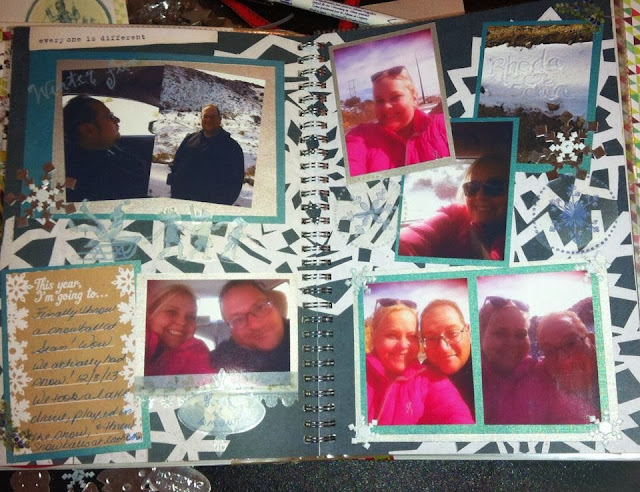
I used so many old things on this page.  We hardly ever get snow!  I have saved these metal brads for years and years.  Never get to use snow flakes.  I got them from Oriental Trading.  The stickers I bought from ABC.  Used one of the journal tags from the Christmas SMASH Bundle.  Also used 12x12 paper I bought at the dollar store, I hadn't even opened yet. PS Took these pics on Sunday, already SMASHED!!!!  Feels so good!

Christmas SMASH Book

Image
Random pics from the mall....it was my birthday so it was fun to get in some Christmas pics in too.

Better Be Good - Page in the Christmas SMASH Book

Image
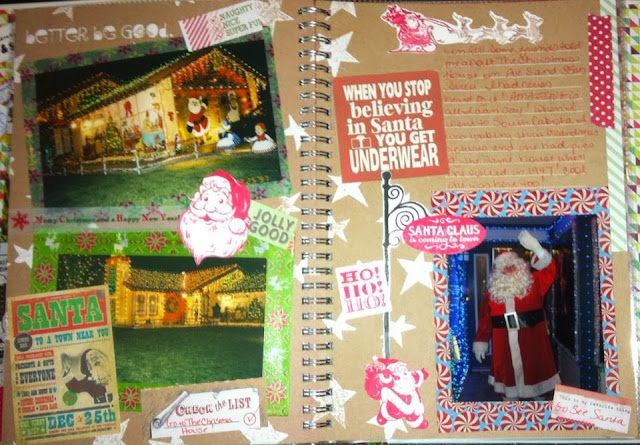
I was only going to use this years Christmas pictures in this book but I had to include this story in this book.  I love going to this house every year and can't wait till this year.  I used my new stamps and some digital printables from Pinterest.  Love the underear saying! lol

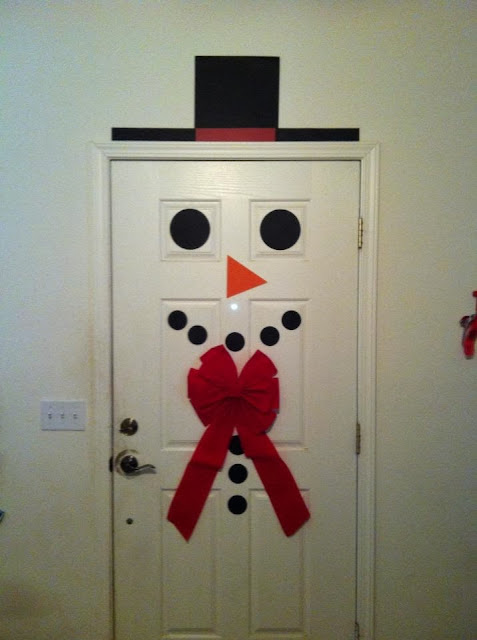
Snow Man Door - With Instructions

Image
I've been seeing the Snow Man Door allllllllllll over Pinterest, so I have no idea who to credit for the first idea. I used my old Creative Memories circle cutter for this.  I used the large circle with the red blade on the outside and cut two for the eyes.  Then the inside of the CM cutter, I used the blue blade and cut 8 small circles. For the hat, it is just a 12x12 piece of black paper.  I added a 2 inch cut of red paper.  Then out of another 12x12 piece of black paper, cut two inch sections, and added to the sides.  For the nose, I just cut a triangle out of orange paper.  I attached with clear tape and my mom gave me that big red bow. I LOVE IT!!!!!!!!!